Physical Address
304 North Cardinal St.
Dorchester Center, MA 02124
Physical Address
304 North Cardinal St.
Dorchester Center, MA 02124

Learn how to use Cloudflare’s Build AI Web Builder to generate and customize your website from plain-language text and deploy it quickly on Cloudflare’s global network.
Cloudflare’s new Build AI Web Builder allows creators to generate and deploy a fully functional website using simple natural-language instructions, removing the need for manual coding or server configuration. By integrating AI generation with Cloudflare’s global edge network, Build lets you streamline design, customization and deployment in minutes without deep technical knowledge.
Build is part of Cloudflare’s suite of developer tools that combines AI capabilities with automatic deployment and hosting on the Cloudflare edge. Rather than writing HTML, CSS and JavaScript manually, you describe the type of site you want in plain text and let the AI generate the layout and code accordingly. Your resulting site is instantly served through a secure and fast edge network. :contentReference[oaicite:0]{index=0}
Follow these steps to generate and deploy your website using Cloudflare Build (AI Web Builder):
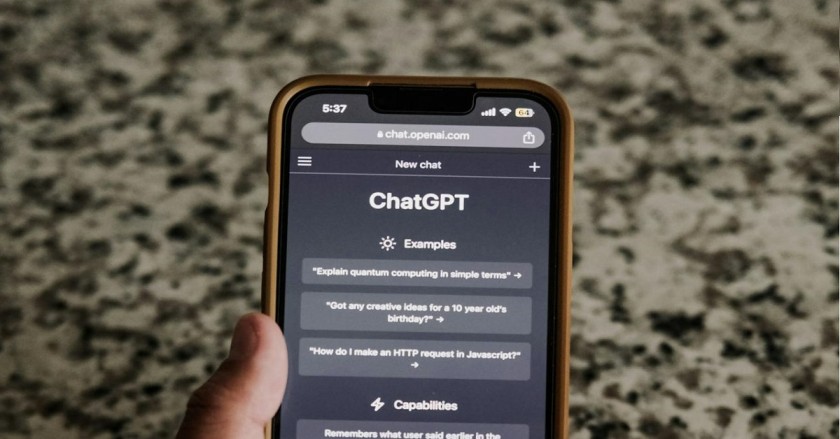
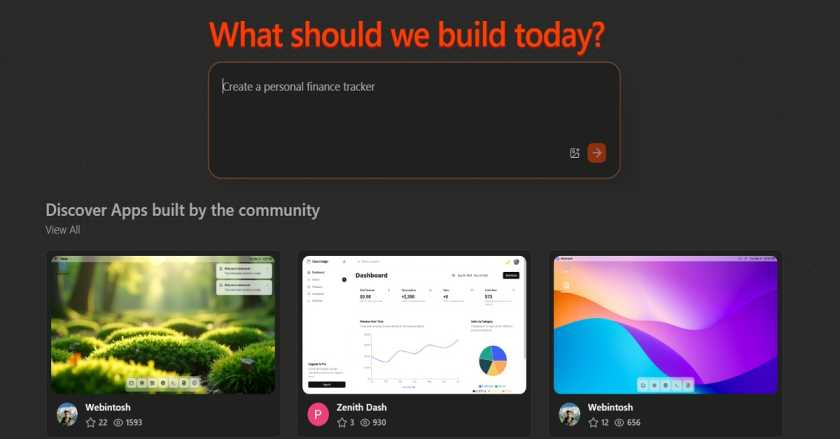
Open your browser and go to the Cloudflare Build interface build.cloudflare.dev and sign in with your Cloudflare credentials.

In the text input area, type a clear description of the website you want. For example: “Create a dark-theme personal portfolio site for a photographer with an animated gallery section.” This description guides the AI in structuring your site’s layout and components.
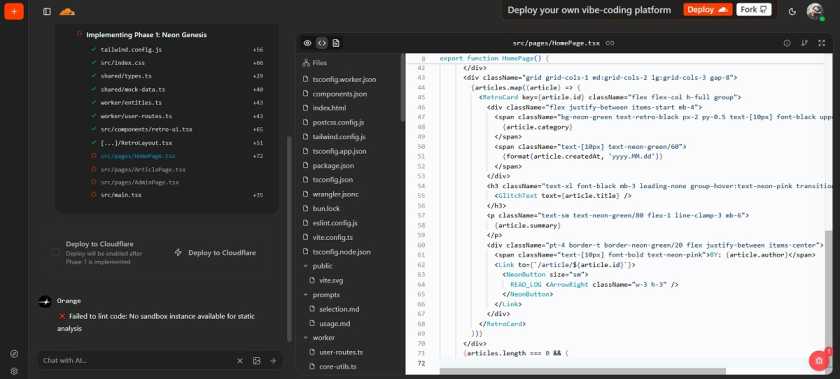
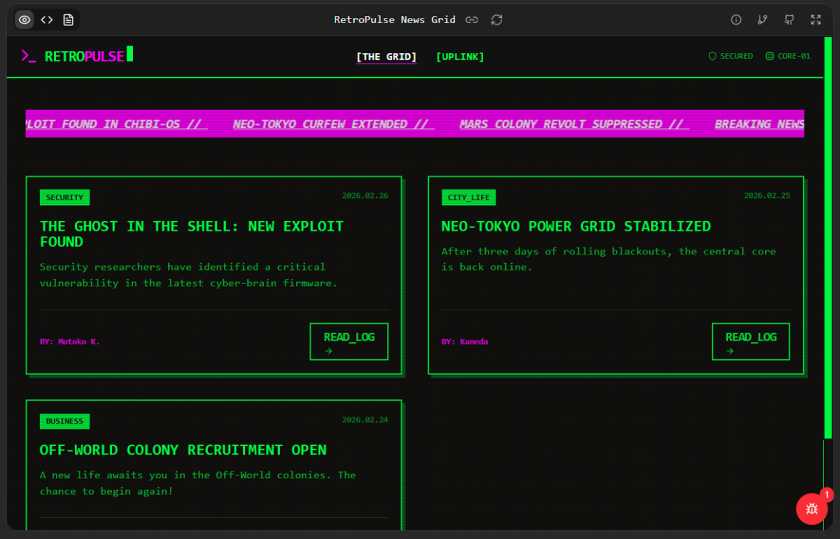
The AI will generate HTML, CSS and layout suggestions based on your prompt. Preview the generated pages in the interface before finalizing.
Adjust visual elements such as button styles, color themes, fonts and layout details using the builder’s editing tools. You can personalize the design without coding.
Insert your own text, images and links into the structure created by the AI to complete your content.
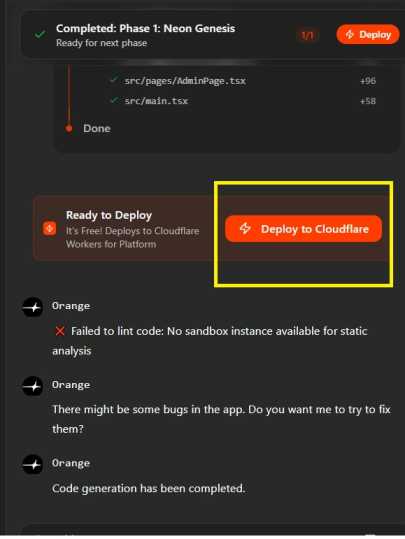
Once satisfied with design and content, publish your site. Cloudflare Build will host it on Cloudflare’s global CDN and edge network, making it fast and secure for visitors worldwide.
After deployment, you can return to the builder or Cloudflare dashboard to edit content, add pages or update visuals as needed.
Unlike traditional development workflows, Cloudflare Build reduces technical barriers and accelerates time to live. Since the generated site is deployed on Cloudflare’s edge network, it inherits performance benefits such as low latency and built-in security protections. And because the process is text-prompt driven, it is accessible even to non-developers who want a professional website quickly.
Whether you’re creating a portfolio, business landing page or simple blog, Cloudflare Build’s AI-powered workflow helps you move from concept to live site with minimal overhead and maximum flexibility.